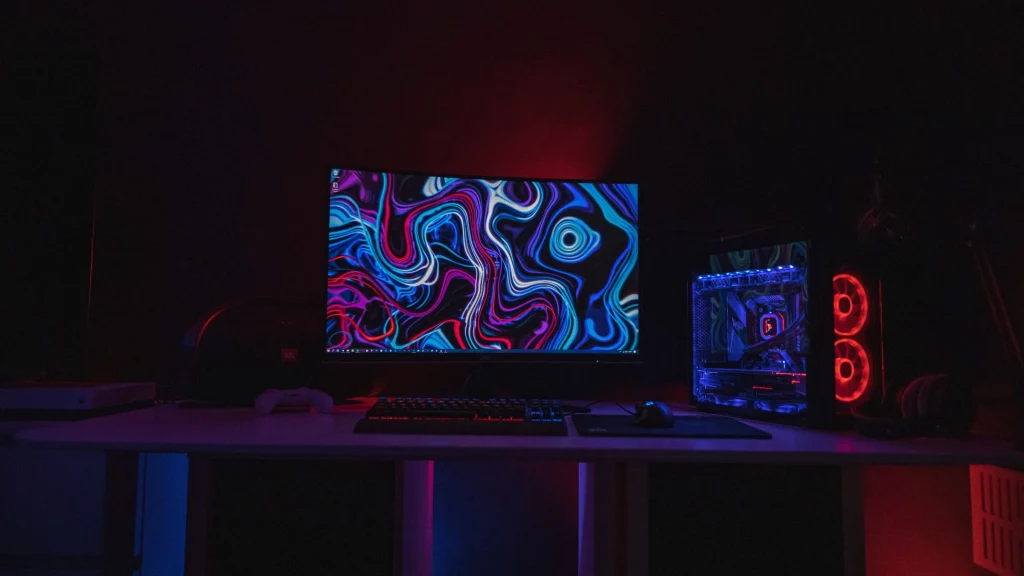
Setting up your gaming setup at home can be an exciting project that enhances your gaming experience. Here’s a comprehensive guide to help you create a functional, stylish, and comfortable gaming environment.
Step 1: Choose the Right Location
- Quiet Space: Find a location in your home where you can focus without distractions.
- Lighting: Look for a room with good natural light, but also consider controlling light with curtains or blinds to avoid glare on screens.
- Electrical Outlets: Ensure there are enough outlets for all your equipment.
Step 2: Select Your Gaming Desk
- Size: Choose a desk that accommodates your monitor(s), keyboard, mouse, and any additional accessories. An L-shaped or corner desk can maximize space.
- Height: Ensure the desk is at a comfortable height, especially if you plan to use a gaming chair.
- Material: Look for durable materials that can withstand wear and tear.
Step 3: Invest in a Comfortable Gaming Chair
- Ergonomics: Select a chair that provides proper lumbar support and adjustable features (height, armrests, recline).
- Material: Choose breathable fabrics or leather to stay comfortable during long gaming sessions.
- Aesthetics: Match the chair with the overall theme of your gaming setup.
Step 4: Set Up Your Display
- Monitor(s): Decide on the number of monitors you need. Dual monitors can enhance productivity, while a single high-resolution monitor is great for immersive gaming.
- Refresh Rate: Look for a monitor with at least a 144Hz refresh rate for smoother gameplay.
- Resolution: Consider a minimum of 1080p, but 1440p or 4K for high-end setups.
- Monitor Stand or Mount: Use a stand or mount to position your monitor at eye level to reduce neck strain.
Step 5: Organize Your Gaming Gear
- Keyboard and Mouse: Choose a mechanical keyboard for responsiveness and a gaming mouse with adjustable DPI settings for precision.
- Mouse Pad: Use an extended mouse pad to provide ample space for movement and enhance aesthetics.
- Headset: Invest in a quality gaming headset for clear audio and communication. Consider a stand to keep it off the desk.
Step 6: Cable Management
- Cable Clips and Sleeves: Use these tools to bundle and organize cables, keeping them out of sight for a cleaner look.
- Cable Tray: Install a tray under the desk to store power strips and excess cables.
- Velcro Straps: Use these to manage longer cables.
Step 7: Lighting and Ambiance
- LED Strips: Install RGB LED strips along the back of the desk or around the monitor for a dynamic look.
- Smart Bulbs: Use smart bulbs to change the room’s lighting color and intensity based on your mood or gaming session.
- Desk Lamp: Add a stylish lamp for additional task lighting and aesthetic appeal.
Step 8: Personal Touches
- Decor: Add posters, collectibles, or figurines related to your favorite games.
- Plants: Incorporate plants for a touch of nature and to improve air quality.
- Inspirational Items: Display items that inspire you, such as quotes or artwork.
Step 9: Final Touches
- Test Your Setup: Once everything is in place, sit down and test your setup. Make adjustments to the monitor height, chair position, and desk layout for maximum comfort.
- Adjust Settings: Calibrate your monitor and adjust the settings for your games to optimize performance.
Step 10: Maintain Your Setup
- Regular Cleaning: Keep your desk and equipment clean to maintain performance and aesthetics. Dust off electronics and clean the keyboard and mouse regularly.
- Upgrades: Keep an eye on new gaming accessories or tech that could enhance your setup over time.
Conclusion
Creating your gaming setup at home is about finding the right balance between functionality and personalization. By following these steps, you can design a space that not only looks great but also provides a comfortable and efficient environment for your gaming adventures. Enjoy your new setup!

